If you can, believe difficult about whether you want to pass away out there.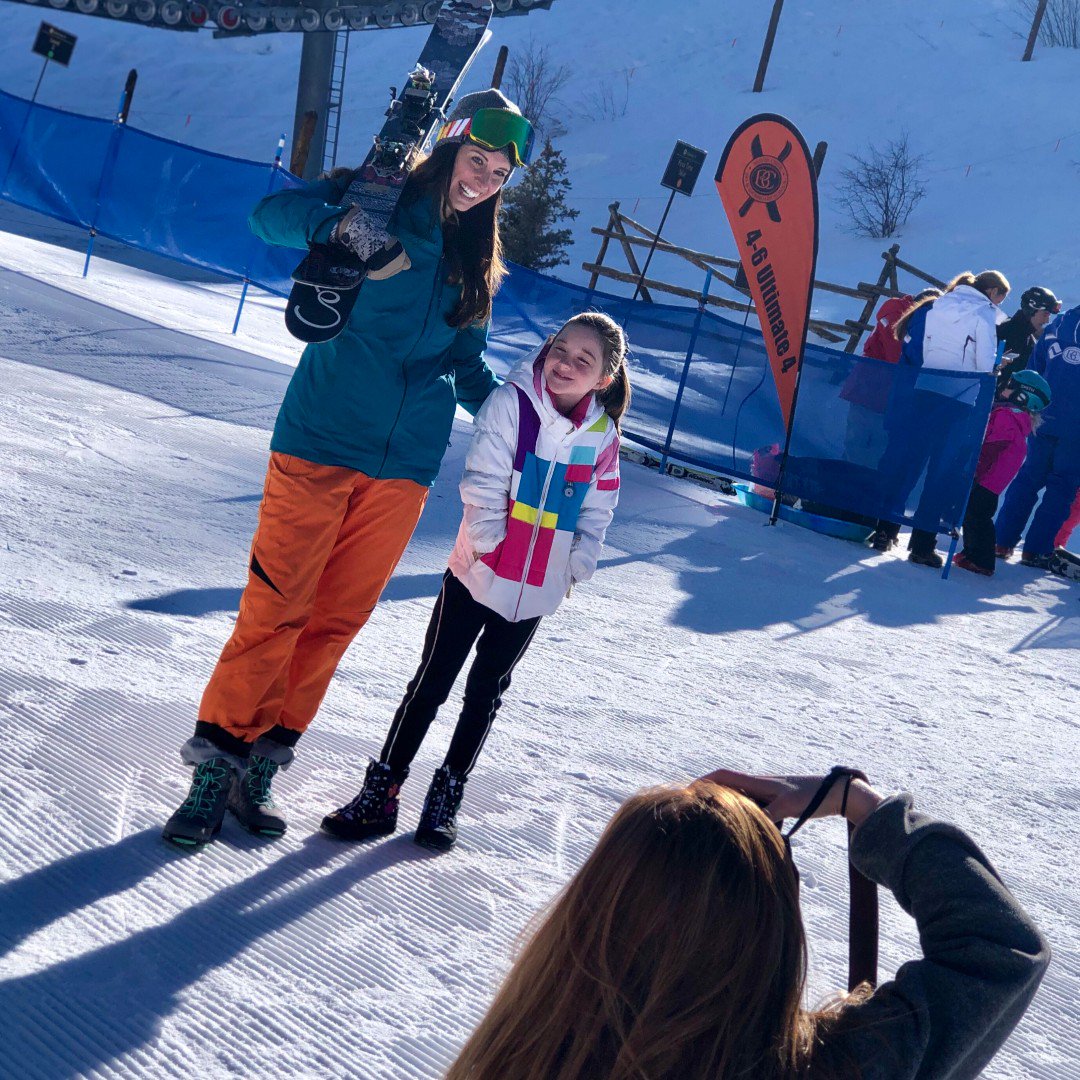 An avalanche beacon, shovel, and probe will cost you about $400 however it's the most important investment you can make. These three pieces of equipment could conserve your life or someone else's, so buy them, bring them, and understand how to utilize them.
A beacon, shovel, and probe are must-haves for the backcountry. Learn how to utilize them and do not head out without them. My partner Nick is a veteran skier and backcountry enthusiast in addition to a Seattle Mountain Rescue volunteer. Our first getaway was conditional on me showing my beacon skills.
If you have actually already taken training and understand how to use your gear, think about practicing before the start of every season if for no other reason than to make certain your batteries are fresh and your devices is functioning as expected. The Summit at Snoqualmie has a beacon training park called B.A.R.K.
You can simulate searches for approximately 4 'victims' with 3 settings that vary from easy to difficult. Beacon Basin is sponsored by Alpental B.A.R.K., a regional non-profit devoted to the support and training of Avalanche Canines used in avalanche search and rescue, in addition to typically supporting avalanche education.
You might be able to buy skins and mount exploring bindings on your existing skis, however you'll ultimately require to buy backcountry-specific skis or a splitboard along with bindings, skins, poles, and most likely brand-new boots. If you've chosen the danger is acceptable and you've got the skills, the training, and all the equipment, now what? Backcountry gear has a great deal of moving parts, so learn how to utilize it.
With a splitboard, when you finally get to where you want to ride, you require to disconnect from your trip bindings, collapse your poles, not launch your splitboard down the mountain, rip your skins (it's always windy, trust me!), get your skins tucked into your pack, eliminate your bindings, snap your board together, reattach your bindings in flight mode, make certain the highback forward-lean adjuster is properly in place, then get strapped back into your board.
It takes both time and practice on the slopes to get effective. Get familiar with your equipment. As quickly as it gets icy and snow-covered everything gets a lot more difficult. Practice, practice, practice! Then go to the car park of your regional ski resort and practice some more. Then when you can do all of it easily, skin 1/4 mile up a snowy slope and do it once again.
You'll ultimately get faster and you'll thank yourself later! Layers are crucial for all outdoor adventuring but since I began alpine exploring it's evident just how important they truly are. I have actually found that backcountry splitboarding truly indicates 90% touring and 10% riding. Almost each time I begin skinning, no matter the temperature, within 5 minutes I'm down to a single long-sleeve layer, mumbling about how I wish my ski pants had ventilation.
For visiting, I typically use a medium-weight long-sleeve layer, some leggings under my ski trousers, and a light- or medium-weight set of gloves. I highly advise zippered, aerated ski pants. I keep my puffy or my hardshell handy in my pack in case we stop and I need extra layers rapidly.
My backcountry snowboarding layers: a North Face PrimaLoft vest, Patagonia puffy, Craft windlayer, Patagonia hardshell, Dakine Camino mittens, thermal Enthusiast and beanie Simply a pointer: bring liner gloves that you can wear below warmer ones. Using thin gloves means you can alter over your board without exposing your hands to the weather and still keep them a little bit insulated.
You'll likely require a minimum of a 30+ liter pack for backcountry trips, depending upon the weather and your clothes options. You'll need extra space in your pack for your skins on the way down and if you're a snowboarder, your poles also. In addition to fitting my extra clothes layers, I load food, the standard first-aid kit, a shovel, probe and additional batteries for my beacon.
Don't forget your sunscreen, lip balm, regular sun glasses, and ski safety glasses. Regular sunglasses are great for the skin up. Goggles better for the run down. Bear in mind that in the backcountry you're on your own. If things fail, you can't just discover the nearest feline track or quickly slide your method down the groomed green run.
Think about loading a little multi tool and extra binding parts. The very first time I explored at Mount Rainier I got above Paradise, delighted to take my diminished, then understood the night before I had incorrectly changed my binding installs and not evaluated them! I wasn't able to get my snowboard into flight mode and since I didn't have a tool with me to make the modification, I was stuck awkwardly skiing down on my skins.
I learned my lesson on that one. Whether you're brand-new or skilled, pick a proficient partner. If you're a veteran, you should not take any novice into the backcountry unless they have the correct safety equipment and training. If you're the beginner, you should not be heading out without security gear no matter who your partners are.
I understand many who do solo snow outings and I do not evaluate anybody for making decisions about their own acceptable level of danger, but not having a partner in the backcountry is very danger. All you have to do reads a handful of NWAC accident reports to understand that without a partner, you have actually gotten rid of any safety net ought to something fail.
Among the very best locations to begin is your local ski hill. Every one has different policies on uphill travel and skinning, so examine their site for rules and if in doubt, call them and ask. Hyak at Snoqualmie Pass is a popular place for backcountry skiers and boarders and the Summit permits uphill travel so long as you remain off the main runs and obey their policies.
It just takes a handful of careless individuals to ruin it for everyone, so again, please check ski area policies on uphill travel or speak with ski patrol on website. Practice, practice, practice! Mount Rainier is a gorgeous place to go touring and the rangers there supply good information if you're brand-new to the area.
Constantly inspect avalanche conditionsterrain there can be hazardous. My preferred getaways up until now have been at Rainier and if I never do anything more challenging, I am totally okay with that! Ski touring at Mount Rainier is constantly beautiful! Alpine Lakes High Camp (formerly Scottish Lakes) outside Leavenworth is under new ownership and makes a fantastic weekend backcountry getaway. There is a feeling you get in the mountains, an existence. The sensation is sharper in winter season, for me, as snow blankets whatever in a coat of white. Despite the beauty, it positions a risk, what is lovely is also hazardous. Avalanches, variable weather and extreme cold all creep into the equation.
Danger evaluation is crucial. Understanding the danger needs a certain quantity of education and that's why I required some. Making our turns. PICTURE BRUIN ALEXANDER Before I took my first AST course I spent a great deal of time doing mock searches with pals I advise you do the very same. The course is both informative and intimidating.
I won't enter into the backcountry with individuals who haven't taken their AST, easy as that. With that stated, the course is a portion of the education. Ask questions, study the Avalanche Canada app, comprehend the terrain and deal with searching. The course gives you a standard practice is the secret.
Having changed from a snowboard to skis, I was always the weakest rider. What I was never weakest in was knowledge, especially in first aid. It assisted the groups' confidence, along with my own, knowing I was the most prepared to assist in case of an accident. People were more positive bringing me along and I was useful despite my lack of experience on skis.
Budget is budget, but look for as light a set-up as possible. You want to be comfortable and you desire the reach be pleasurable. I assure you will not regret the included cost. That implies pin bindings and a light boot. I ride different skis for backcountry and resort, however if that isn't a choice for you, look for a stronger all-round ski.
In my opinion, both Mammut and Black Diamond have outstanding choices. This is the only piece of equipment I wouldn't purchase used, it isn't only your life, however your pals lives covered in this $500 expenditure. My buddy Will Biname strips the skins off his skis after an excellent hike in the backcountry.
Snow varies, condition modifications fast and remarkable and so, experience is the very best teacher. While you're seeking to construct your own experience, aim to supplement it with the wisdom of others. Don't know anyone? Ask! When you loved this informative article and you wish to receive details with regards to Salomon Splitboard please visit our own web site. See online message boards, socialize at your AST course if you're clever, befriend the instructor.
Individuals like those who bring beer and snacks. Whistler is one of the most amazing locations on earth, with more backcountry chances than a life time could examine off. Heck, it's difficult to touch every corner of the resort. The ideal line is always out there, atop a brand-new ridge, down a surprise couloir, someplace off the beaten path.
Everyone starts someplace. Remember it takes time, persistence and a lot of days on skis or a board to be positive enough to venture off. However that time goes faster than you believe, so if you feel overwhelmed or worried, don't be. Go out on the snow, feel the powder on your face.
Practice. Be informed. "With preparation and effort, all the fresh tracks outside the resort are within your reach." If this post has motivated you to venture into the backcountry, have a look at these tours and courses on Whistler.com so you can get the training to explore securely. Bruin Alexander is a professional photographer and explorer who does not shy away from the challenge of attempting something brand-new.
So you're wondering how to begin backcountry snowboarding. Your friends have told you about all the fresh pow that's waiting out there for you. You're passing away to understand what it's all about. First things initially: backcountry snowboarding or boarding is hazardous, and there is no other way around that truth. There are ways to decrease the danger through training, surface assessment, avalanche projections, experience, technology, etc.
If you read this guide, you likely have a great idea what backcountry skiing is (maybe you have actually even read the Wikipedia post about backcountry skiing), however let's clarify things just in case. Whatever in this guide uses to backcountry snowboarding too, so if you're a boarder, kept reading, however I'll usually be using the term backcountry skiing (don't be offended, I like boarders too!) You may be questioning what in the heck people are speaking about when they say they're going 'backcountry snowboarding'.
Note that a lot of people will utilize backcountry snowboarding and alpine touring interchangeably, so keep that in mind. To some people, alpine touring or merely 'visiting' usually describes longer, multi-day trips that are totally human-powered, but that isn't always the case. Backcountry snowboarding is also known as off-piste skiing (common in europe) and uphill snowboarding in some circles (I sense this second term is mostly used as a joke).
You strap 'climbing up skins' to the bottom of your skis, which offer you grip in one direction and slide in the opposite direction (type of like cross nation skis). You have unique bindings that enable your heels to be free (once again, kind of like cross-country snowboarding) so you can kind of walk/shuffle along in your skis.
Uphill. When you get to the top, you dupe your skins, lock your heels back down and ski. Take a look at those fantastic powder turns. When talking about snowboarding or snowboarding, the backcountry is generally throughout the mountains that isn't part of a ski resort and doesn't have ski patrol to save you if anything goes wrong (more on how to deal with that later).
None of the routes are groomed or marked for dangers, so you are really on your own out there. But, with the absence of groomers comes the capacity for deep, unblemished powder turns, which is what gets a great deal of individuals hooked on backcountry snowboarding, myself consisted of. Among the main goals of this site is to teach individuals safe habits for backcountry travel.
Beacon, shovel, probe. You need to always have these with you when venturing into the backcountry. I'll discuss what each of these are exactly in a future post. Yes, I know the proper name for a beacon is a transceiver, but it just does not have the very same ring to it.
Knowledgeable backcountry travelers get captured in avalanches every year. Even specialists. Let that sink in. Years of excellent decisions can rapidly be surpassed by one bad choice or one bit of misfortune without proper preparation. A group of backcountry skiers taking a look at an avalanche. Avalanches may be the very first thing you believe of in terms of danger in the backcountry, but there is also the risk of injury, dehydration, exhaustion, hypothermia and even the risk of starving bears (although fortunately this one isn't likely).